You might not think about insulation much until your energy bills spike or a draft chills your home during winter. Yet, this often-overlooked element plays a major role in keeping indoor spaces comfortable year-round while cutting down on costs. Effective insulation acts as a barrier that controls heat flow, moisture, and even sound, making buildings more efficient and livable. In places like Nevada, where temperatures swing from scorching summers to chilly nights, good insulation can make all the difference in maintaining a steady environment without overworking your HVAC system.
This guide, based on hands-on experience installing and assessing insulation systems across various structures, covers everything from the basics to practical upgrades, so you can make informed choices. Whether you’re a homeowner planning a renovation or someone building new, understanding insulation helps you avoid common pitfalls and maximize comfort.
Here’s what you’ll find ahead:
By the end, you’ll have the knowledge to evaluate your current insulation and plan improvements that pay off over time. As the first topic outlines, we’ll begin with a breakdown of what insulation does and why it deserves attention. Let’s start with the fundamentals.
Insulation works by slowing the transfer of heat, which keeps warm air inside during cold weather and blocks hot air from entering in summer. Think of it as a cozy blanket for your home. Materials trap air pockets that resist conduction, convection, and radiation—the three ways heat moves.
Why focus on this now? Poor insulation leads to higher utility bills and uneven temperatures. According to the U.S. Department of Energy, homes with adequate insulation can reduce heating and cooling costs by up to 20%. In dry climates, it also helps manage humidity and prevents issues like mold growth.
R-value measures how well insulation resists heat flow—higher numbers mean better performance. For example, walls typically need an R-13 to R-21, depending on your location. But it’s not just about the number; proper installation matters as much as the material.

Factors like climate zone influence what you need. In northern areas, you prioritize warmth retention, while southern regions emphasize cooling efficiency. Local building codes set minimum standards to ensure safety and efficiency.
Choosing the right type depends on your space, budget, and goals. Each option has unique properties that suit different applications.
Fiberglass or mineral wool batts come in rolls or panels that you fit between studs. They’re affordable and easy for DIY projects in attics or walls. Pros include widespread availability and fire resistance in mineral wool versions. Cons? They can settle over time, losing effectiveness if not installed tightly.
A study by the Oak Ridge National Laboratory highlights that batts perform best when compressed gaps are avoided, maintaining up to 95% of their R-value.
This method uses a machine to blow loose-fill materials like cellulose or fiberglass into cavities. It’s great for irregular spaces or retrofits. Cellulose, made from recycled paper, offers good soundproofing and eco-friendliness. Expect R-values around 3.2 to 3.8 per inch.
Drawback: It can settle, so professionals often add extra to compensate.
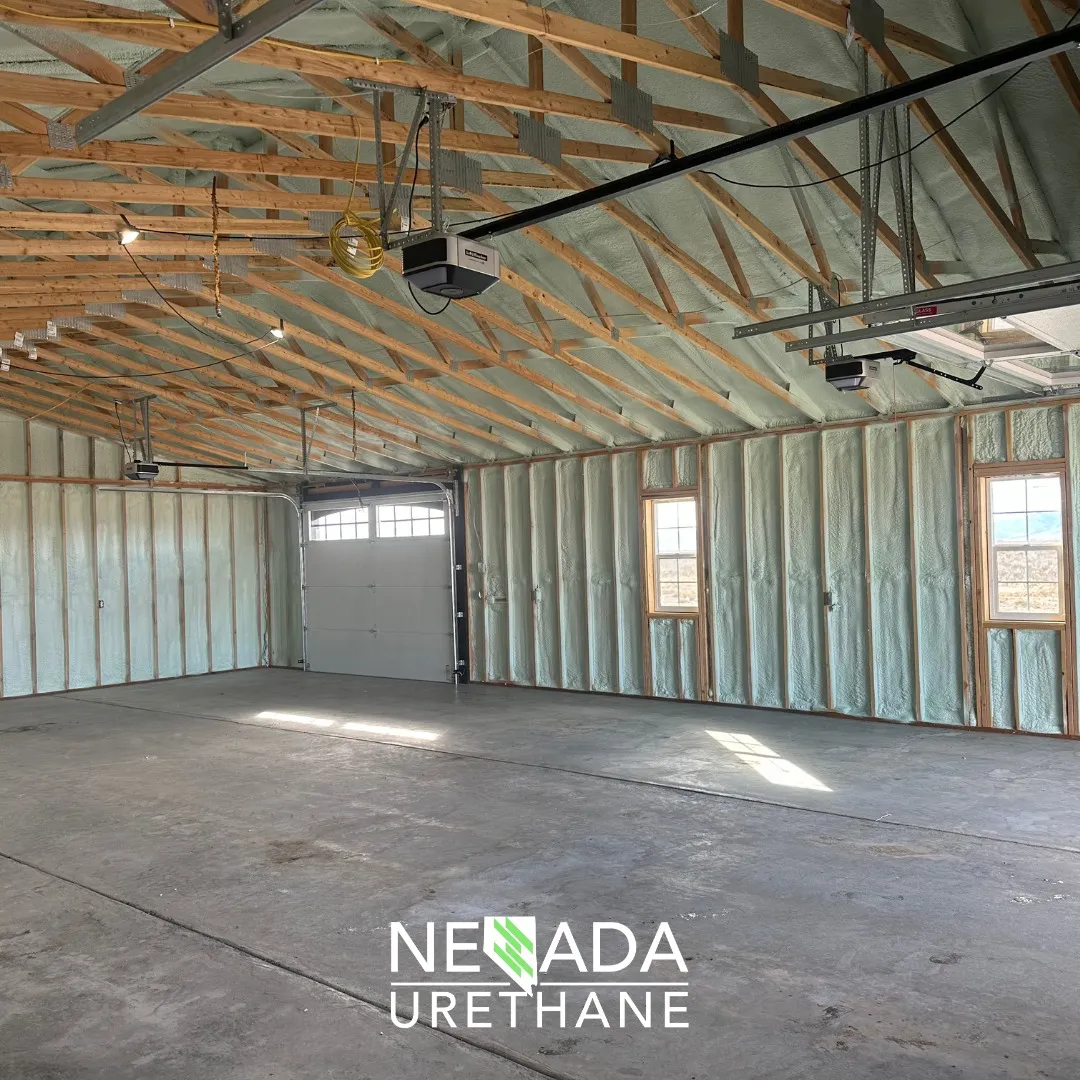
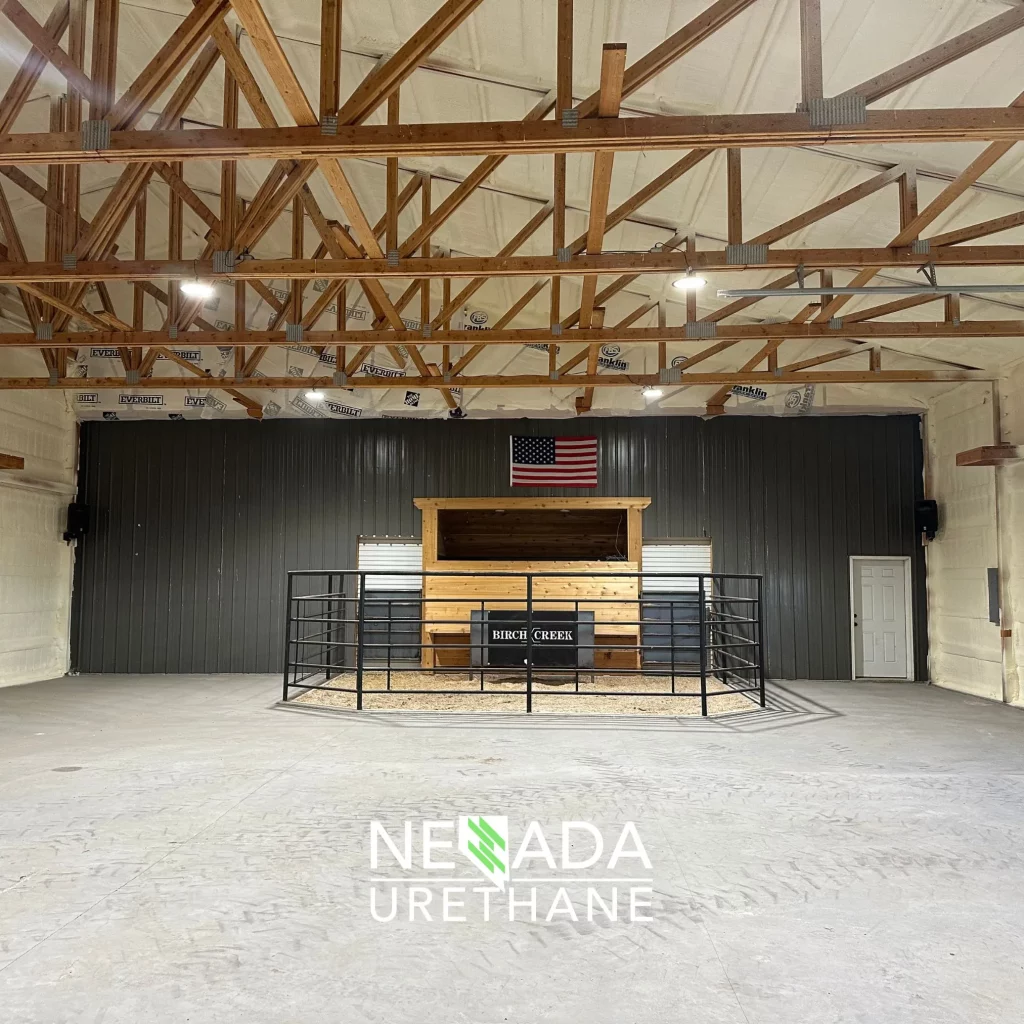
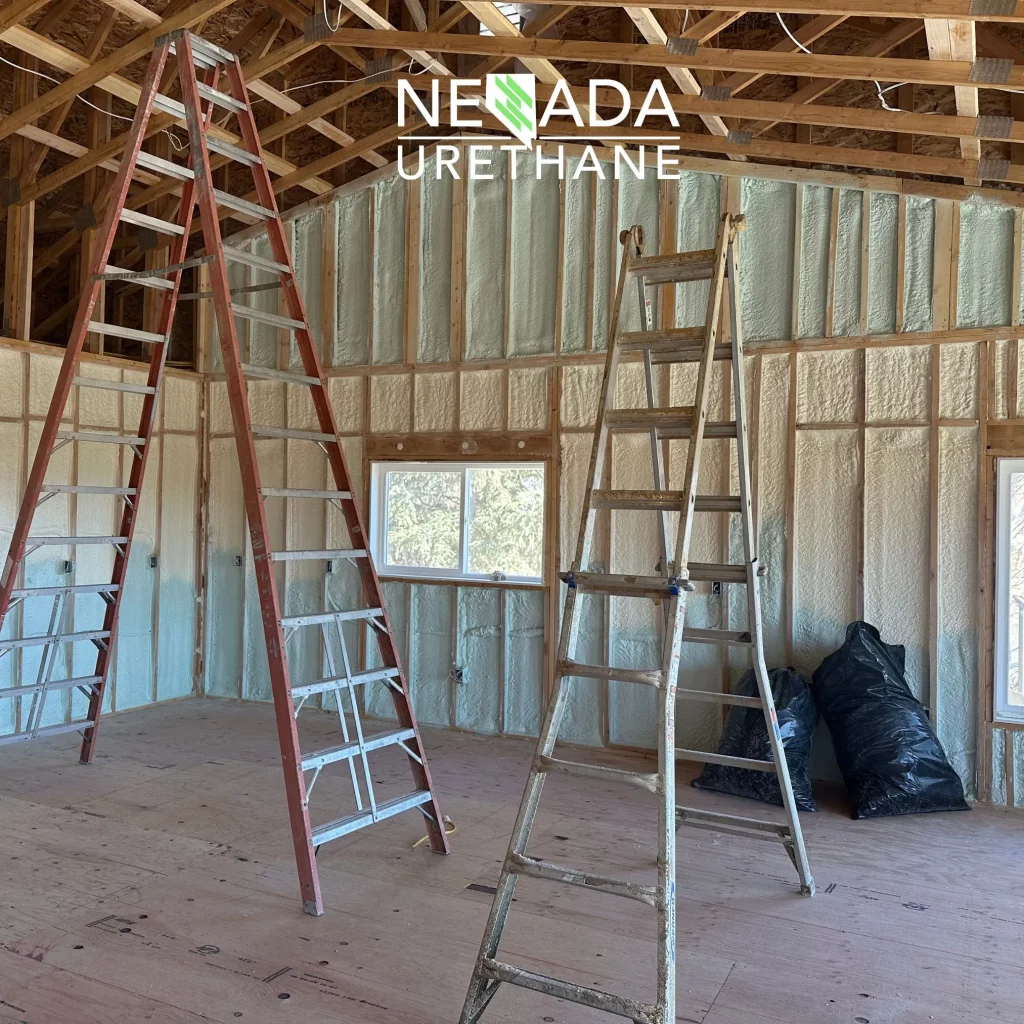
Expanding foam seals gaps better than most, creating an air barrier. Open-cell foam is lighter and more affordable, while closed-cell foam provides a higher R-value (about 6.5 per inch) and moisture resistance. Ideal for basements or crawl spaces.
The Insulation Institute reports that spray foam reduces air leakage by 24% on average compared to traditional methods.
These polystyrene or polyisocyanurate panels work well for foundations or exterior applications. They’re moisture-resistant and offer R-5 per inch. Cut them to fit and secure with adhesives.
In a table for quick comparison:
| Type | R-Value per Inch | Best For | Cost Range (per sq ft) |
|---|---|---|---|
| Batt | 3.1-4.3 | Attics, Walls | $0.50-$1.00 |
| Blown-In | 2.2-3.8 | Irregular Spaces | $0.80-$1.50 |
| Spray Foam | 3.6-6.5 | Air Sealing | $1.50-$3.00 |
| Rigid Board | 3.8-6.5 | Foundations | $0.25-$2.00 |
Good insulation goes beyond temperature control. It impacts your wallet, health, and home’s longevity.
First, energy savings stand out. The Environmental Protection Agency estimates that proper insulation cuts energy use for heating and cooling by 15-25%, potentially lowering national average electricity bills of $115 monthly and keeping interiors 10-20 degrees cooler during extreme weather like Nevada’s heat waves without extra AC.
Second, comfort improves. No more hot spots or cold floors—insulation evens out temperatures. In noisy areas, it dampens sounds, creating quieter rooms.
Third, durability. By blocking moisture, it protects against rot and pests. Market data shows insulated homes sell faster; a National Association of Realtors survey found energy-efficient features boost home values by 5-10%.
Health perks include better indoor air quality, as sealed spaces reduce dust and allergens.
Key Takeaways:
Expert Tip: Check for air leaks first—they undermine even the best insulation. Use a smoke pencil to spot drafts around windows and doors.
Upgrading makes sense if your home is over 20 years old or shows signs like high bills or drafts. Start with an energy audit to pinpoint weak spots.
Inspect attics for gaps or compression. Measure existing R-value against local codes. Tools like infrared cameras reveal hidden issues.
Match materials to areas: spray foam for rims, batts for accessible walls. Budget $1,000-$3,000 for a typical home, depending on scope.
Step 1: Seal air leaks with caulk or foam. Step 2: Add layers without blocking vents. Step 3: Hire pros for complex areas like attics.
For retrofits, consider adding over existing insulation to boost R-value additively.
Challenges arise in older homes with asbestos—test first. In humid spots, choose vapor barriers.
The U.S. Green Building Council notes that upgrades can achieve 30% efficiency gains in pre-1980 homes.
Expert Tip: In attics, install baffles to keep insulation from blocking soffit vents—this prevents moisture buildup.
Basic tools include utility knives, tape measures, and safety gear like gloves and masks. For blown-in, rent a machine from hardware stores.
Techniques vary: Friction-fit batts between joists, or use netting for blown-in to hold it in place.
For spray foam, professionals use rigs for even application—DIY kits exist but require practice.
Safety note: Ventilate areas and follow material guidelines to avoid irritation.

Expert Tip: Always wear a respirator when handling fiberglass—fibers can irritate lungs.
One issue: Improper installation leads to gaps. Solution: Double-check fits and use insulation supports.
Moisture problems? Opt for treated materials or add vapor retarders.
Cost concerns: Look for rebates; the Database of State Incentives for Renewables & Efficiency lists programs covering up to 30% of costs.
Pests in attics? Use treated cellulose that deters rodents.
Market stat: 40% of homes have inadequate insulation, per Energy Star, leading to $350 annual waste per household.
Key Takeaways:
Track success with before-and-after energy bills. Aim for 10-20% reductions. Use software like REScheck to model improvements.
ROI calculation: If an upgrade costs $2,000 and saves $300 yearly, payback is under 7 years, plus increased home value.
Advanced metrics include blower door tests for air tightness—target under 3 air changes per hour.
Building on the upgrade strategies discussed earlier, future trends offer ways to further enhance your insulation setup. Smart insulation with sensors monitors performance in real-time. Aerogel materials promise higher R-values in thinner layers.
Sustainable options like sheep’s wool or denim grow in popularity. The International Energy Agency predicts insulation tech will cut global building emissions by 20% by 2050.
Expert Tip: Consider phase-change materials that absorb and release heat—they stabilize temperatures without extra energy.
It depends on your climate. Use the Database of State Incentives for Renewables & Efficiency for zones: R-49 for attics in cold areas, R-30 for warmer spots.
Yes, for simple areas like attics, but hire pros for spray foam to avoid uneven application and void your warranty.
Most types last 20-50 years with proper care. Blown-in cellulose might settle 10-20% over time, so plan for top-ups.
Absolutely. Dense materials like mass-loaded vinyl or rock wool reduce noise transmission by 50% or more in walls.
If sealing is key, yes—it pays back faster through efficiency. For budgets, start with batts and add foam later.
Floor insulation prevents heat loss downward. Rigid boards under subfloors work well, targeting R-19 to R-25.
You’ve now got a solid grasp on insulation’s role in comfort and savings. From picking types to tackling upgrades, the steps outlined equip you to act. Start small: Audit your home, seal leaks, then layer in better materials. Refer back to sections as needed, and track changes to see real results. With these insights, your space can become more efficient and enjoyable right away.
For personalized advice on insulation upgrades tailored to your Nevada property, contact Nevada Urethane at [email protected] or call (775) 397-2820. Their team offers consultations to ensure your project runs smoothly and meets local needs.