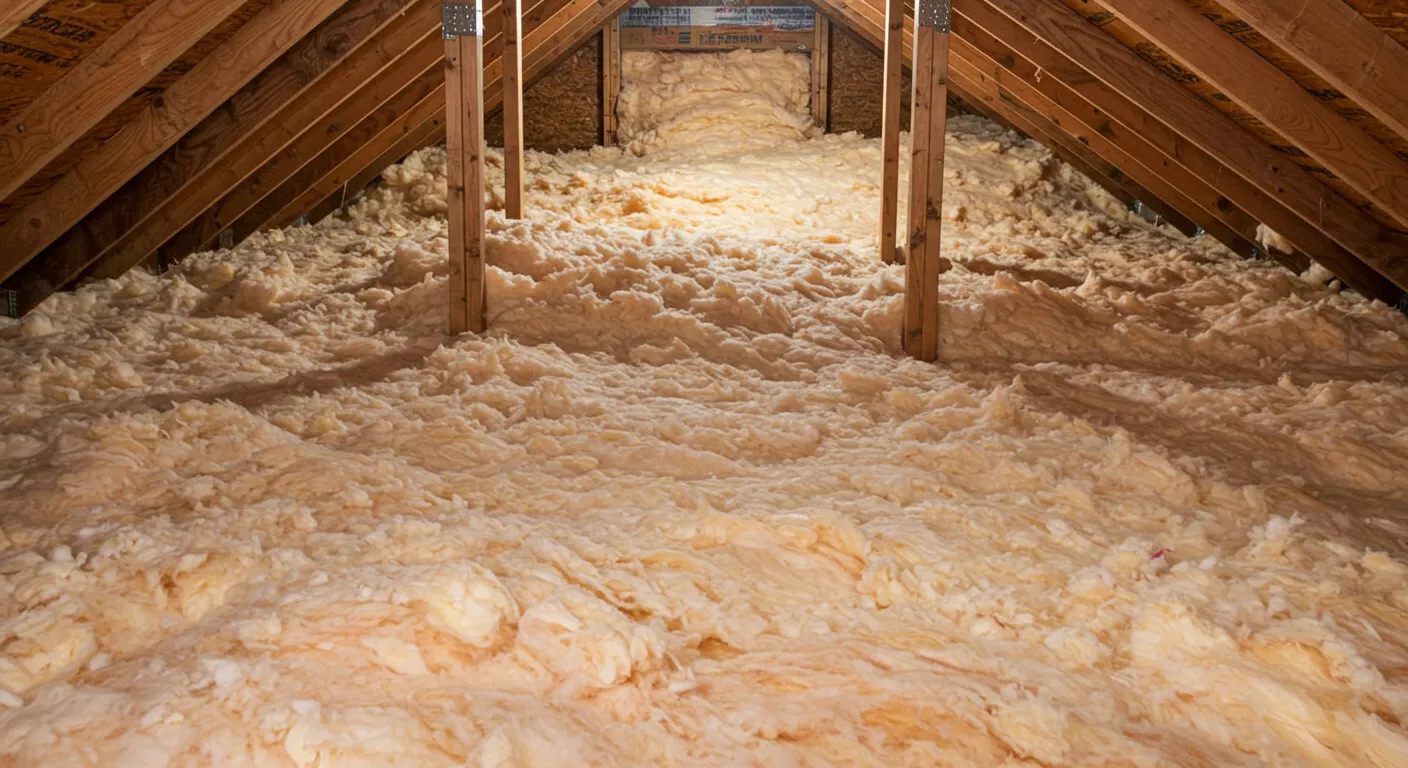
Attic insulation is essential for maintaining energy efficiency and comfort in a home. Blown-in insulation is one of the most effective options available, offering superior thermal performance and ease of installation. This guide covers the benefits, materials, installation process, and key considerations to help homeowners make informed decisions.
Blown-in insulation consists of loose fibers or pellets that are distributed using specialized equipment. It fills gaps and hard-to-reach areas more effectively than traditional batt insulation. The two most common materials used are:
Proper attic insulation reduces heat transfer, keeping homes warmer in the winter and cooler in the summer. This leads to lower energy bills and reduced strain on HVAC systems.
By minimizing drafts and temperature fluctuations, blown-in insulation ensures a consistent indoor climate throughout the year.
The dense composition of blown-in insulation helps absorb sound, reducing noise transmission between rooms and from outside sources.
Cellulose insulation, made from recycled paper, is a sustainable choice. Fiberglass options also often include recycled content.
The installation process is relatively fast, covering large areas efficiently and filling small gaps and crevices that traditional insulation might miss.
| Feature | Fiberglass | Cellulose |
|---|---|---|
| Composition | Glass fibers | Recycled paper |
| Fire Resistance | High | Treated for fire resistance |
| Moisture Resistance | Good | Moderate |
| Settling Over Time | Minimal | Slightly more |
| R-Value per Inch | 2.2 – 2.7 | 3.2 – 3.7 |
| Environmental Impact | Contains recycled content | High recycled content |
While homeowners can install blown-in insulation themselves, professional installation ensures optimal coverage and compliance with safety standards. Hiring an expert can prevent common mistakes like underfilling, overfilling, or leaving gaps.
Nevada Urethane provides professional blown-in insulation services to improve your home’s energy efficiency. Contact us at (775) 397-2820 or email [email protected] for expert guidance and installation.
The cost varies depending on the material and attic size. On average, installation costs range from $1.00 to $2.50 per square foot.
Yes, as long as the existing insulation is dry and in good condition. Adding a new layer enhances performance without requiring removal.
Fiberglass insulation can last over 50 years, while cellulose insulation typically lasts 20–30 years with proper maintenance.
Yes. Modern blown-in insulation materials are treated to be fire-resistant and do not contain harmful chemicals.
Cellulose insulation may settle slightly, requiring periodic checks. Fiberglass retains its structure more consistently.
The recommended R-value depends on the climate zone. In colder regions, R-49 to R-60 is advised, while milder climates may require R-30 to R-49.
DIY installation is possible with rented equipment, but professional installation ensures even coverage and proper application.
Yes, it helps dampen sound from outside and between rooms, improving acoustic comfort.
Professional installation typically takes 2–4 hours for an average-sized attic.
For more information or a consultation, reach out to Nevada Urethane at (775) 397-2820 or [email protected].